The Project:
Build your own apple cider press. Also known as a fruit press.
The Drink:
Whiskey Cider (reserved).
The Pairing:
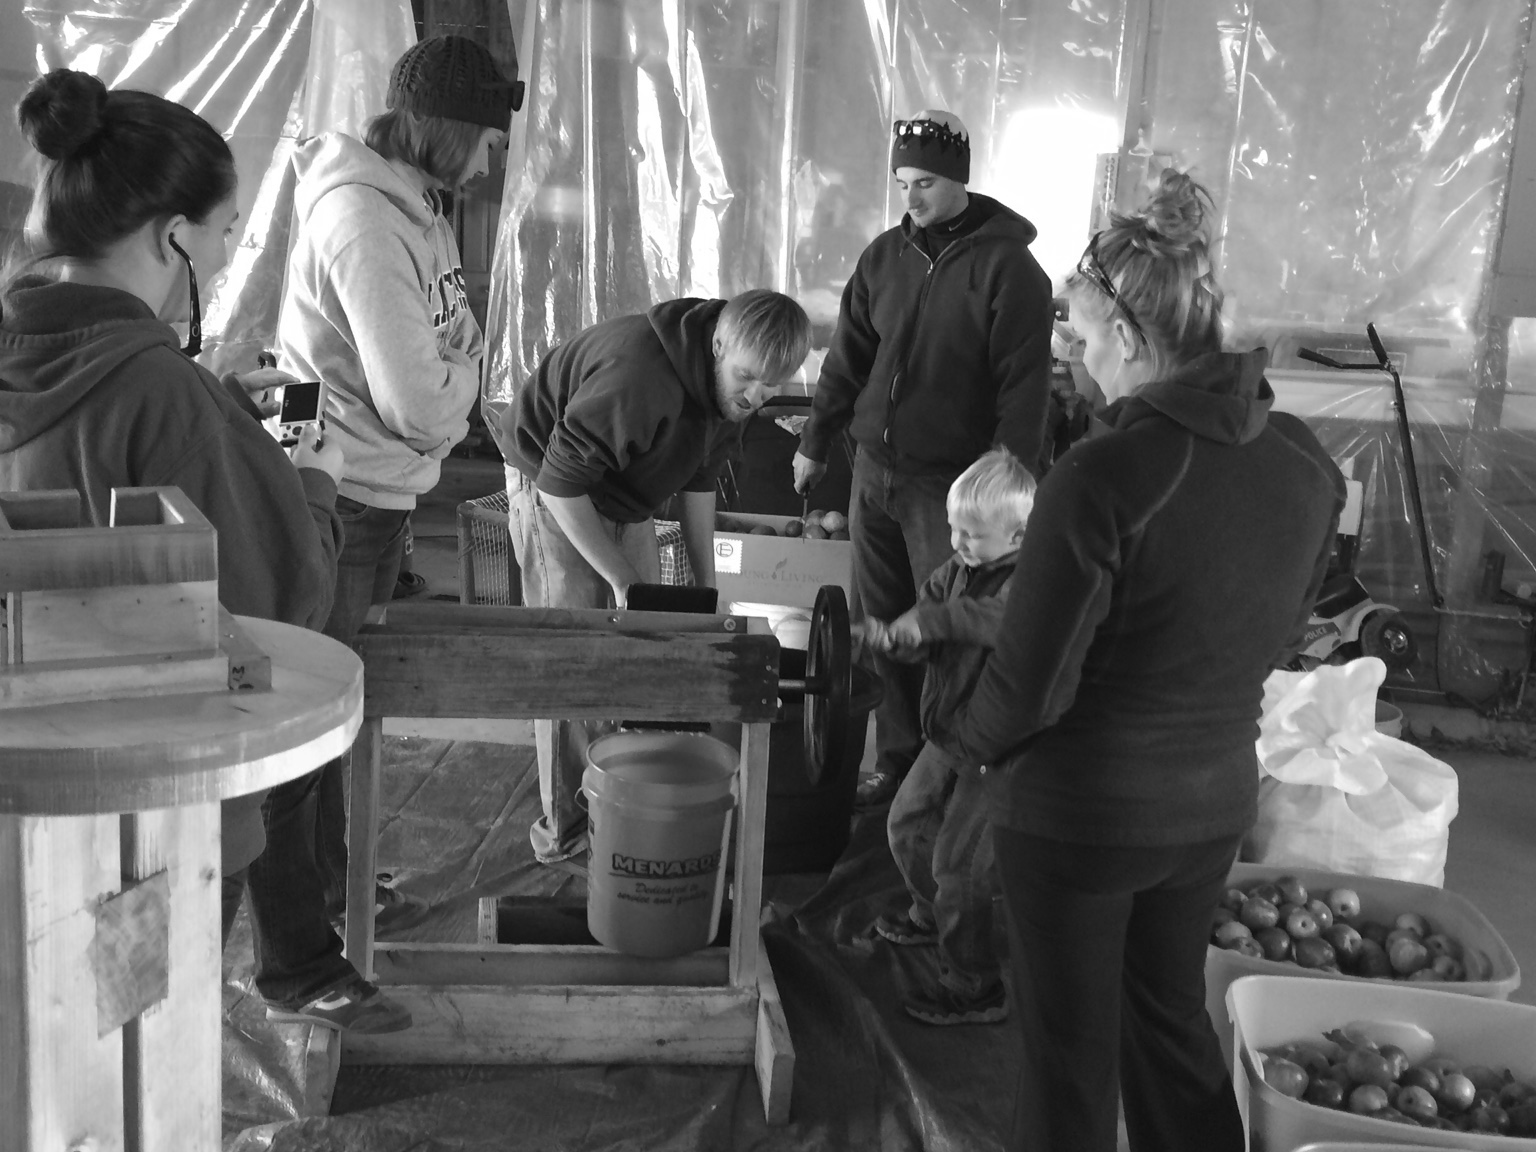
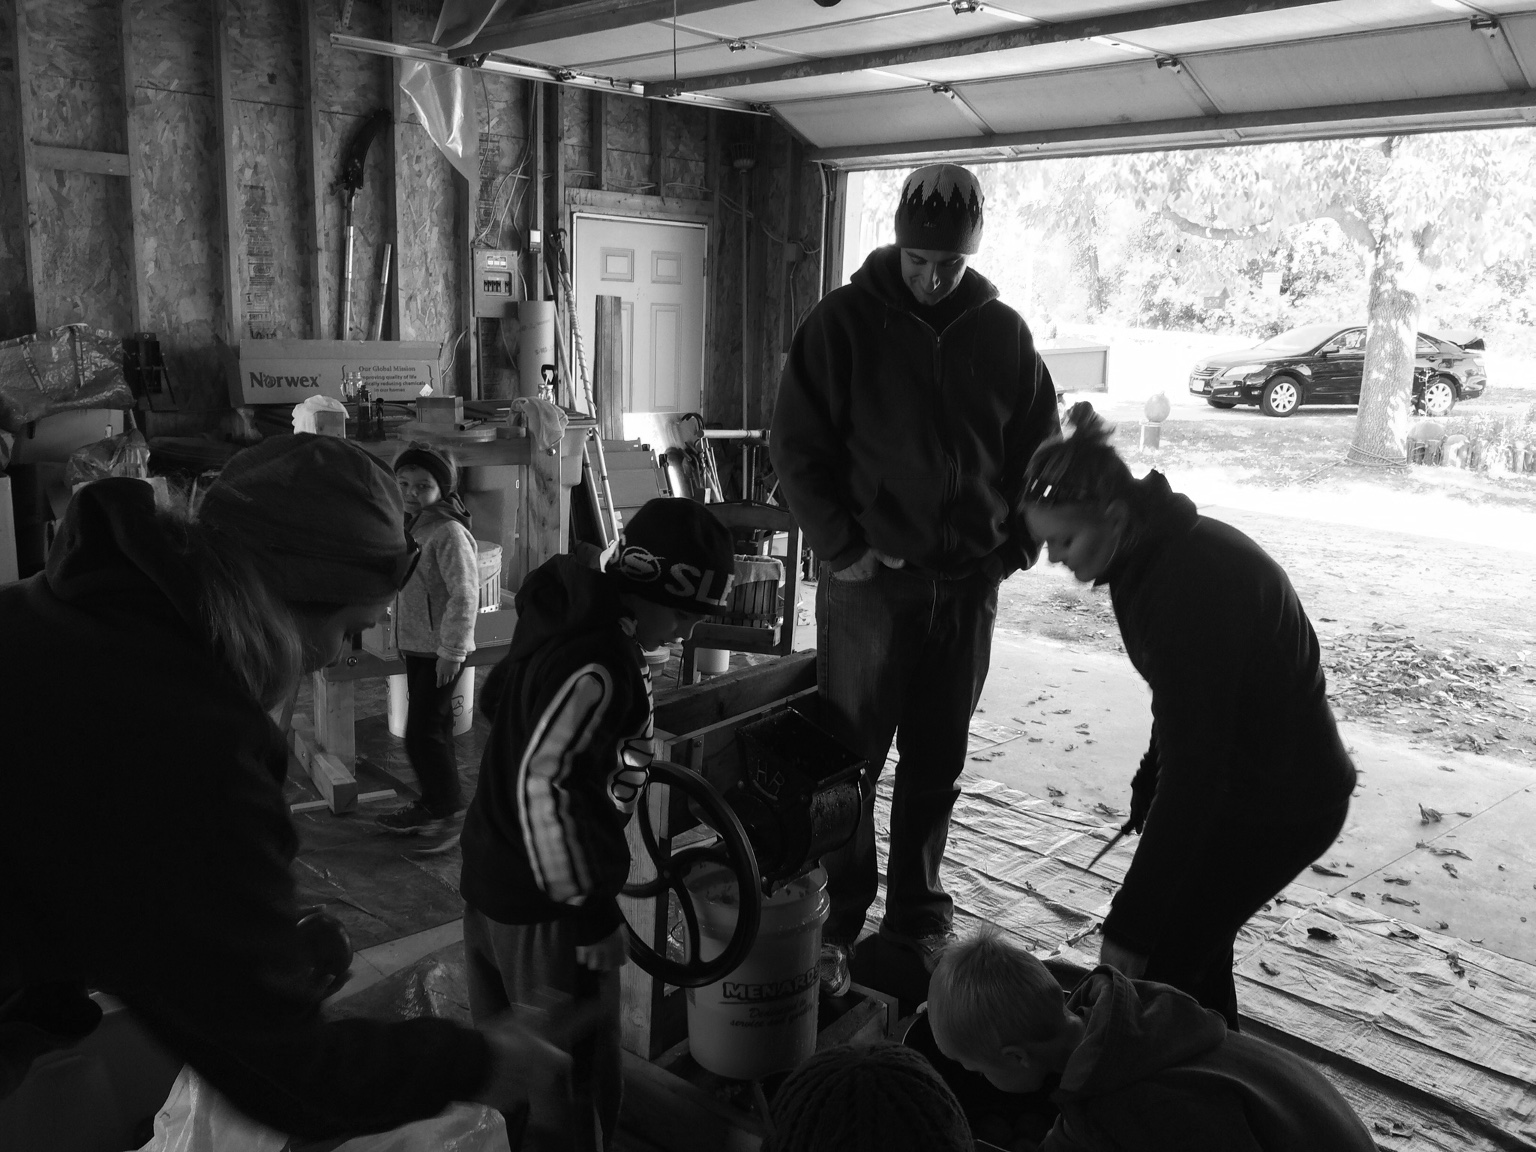
It's a chill day. You get dressed up in your best flannel shit, work pants, and some warm boots. Grab a jug of whiskey like the old lumberjacks did and head out to assemble your apple press. Shred some apples through the grinder, toss them in some cheesecloth that's in the press barrel, and pump up that jack and get the juices flowing. Pour a shot or three (how cold is it!?) in a glass and stick it under the stream until its filled to a reasonable level. Take a glug and feel like the hardworking person you are while enjoying the fruits of your labor.
Project
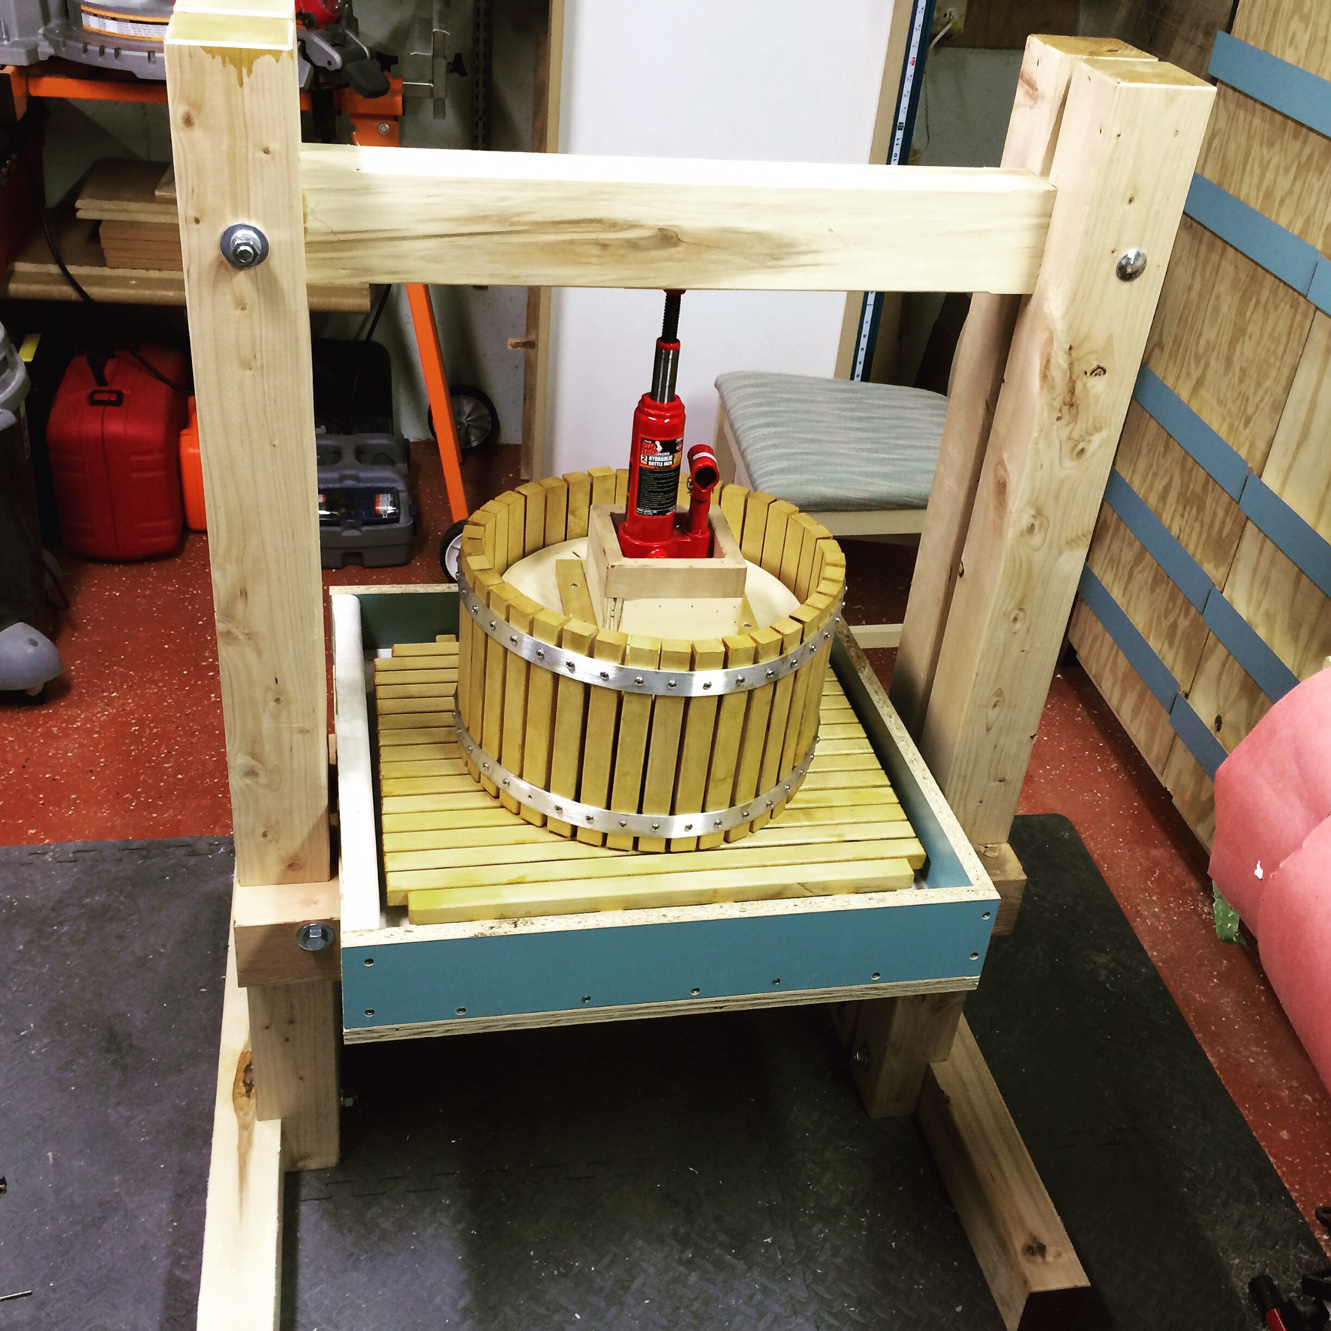
Inspiration for this project came from finding out how damn expensive having apples pressed into cider is. A few searches online found Dempsey Woodworking and the plans for a fantastic apple cider press. I made some changes to it, like using pine instead of 6/4 red oak (expensive!), and 4/4 hard maple instead of his 6/4 red oak thicknessed to 1" for the basket and trivet.
I found other options, such as making a press basket out of 2 non-food-safe buckets, but thought as a woodworker, I could do better. I believe that happened.
Building the Basket
A buddy of mine came over to check out the process and ended up staying for about 6 hours as we built the basket apparatus. Pretty straight forward, just incredibly time consuming. First, we jointed 1 face and 1 edge of a few rough stocked maple boards, then ripped them to strips of 1" wide, being extra careful and using Microjig's GRR-Ripper to keep our hands clear of the sawstop's blade. Sure, it's not supposed to grotesquely chop a finger off, but those brakes and new blades are expensive! Next we rounded over all the edges of top of each strip using a 1/8" round over on the router table. Since there were a lot of the same size pieces, I rigged up my larger-than-life crosscut sled with a stop block and buzzed through the strips to make them the same size.
Over at the drill press, we drilled and countersunk all the holes for the trivet and drilled pilot holes for the basket. Sure was a lot of holes. The basket is held together by flat aluminum, which needed to be cut to size. I though it'd be a great idea to do that cut on the table saw, so I took out the manual and remembered how to bypass the safety mechanisms (since aluminum is conductive) and ran it through the saw. Not the best idea I've ever had, but it worked none-the-less. Wasn't a real straight cut, though nothing a little sanding wouldn't fix. Next time, I decided to use the band saw for cutting.
Since we didn't follow the sizing 100% correctly when building the juice holder tray portion, our trivet was larger than the plans called for, meaning we had to make up our own spacing of the slats. Luckily, 1/8" was perfect, and we had those few 1/8" thick aluminum straps left. So sticking them between each slat as we drilled and screwed worked great.
Building the structure
Now that we had the basket, trivet, and juice tray done, I could move on to the frame. I got most of the wood for the frame from my local Habitat Restore for a fraction of the price of purchasing at a big box store, but they pieces weren't all the same thickness. No worries, that's what they make thicknessers for! Running those through the thicknesser was easy and soon they were all equal-enough sized to cut them to length. The uprights needed some dados cut in them for the bridal/half-lap/whatever you want to call them joints. I stuck in a 3/4" dado stack to the table saw and cut away the waste. And cut. And cut. And cut. It sure took forever and made a lot of sawdust.
Assembly was easy with some glue and some carriage bolts and lag screws. If I build another, I'll be sure to use the drill press to get the holes drilled straighter. As it is now, the feet only go on one side in one direction. Don't see why they couldn't go on either side if the holes were all drilled perfectly.
By this time, the wood was done being laminated (read that as the glue finally dried) and I could cut the corners off on the band saw and then use the router with a circle jig to get the pressure plate for squishing the apples. Pretty straight forward here, turned out great.
Finally, I needed a way to get the juice out of the tray after we pressed it. Using a funnel, I drilled a few holes of different diameters (from larger to smaller) through the tray so the funnel would fit down in there flush. Then I taped the top of the funnel and flipped the tray over so that I could dump some epoxy in there to secure the funnel.
With that, all that was left was to build a riser on the pressure plate to get the jack close enough to the top bar so it could have enough squish distance.
Things to do differently
As the article said, using an aluminum plate on the top bar for the jack to register against was not strong enough. After the first press, I had deflected the plate 1/8" into the top bar. We found a piece of steel that worked way better and didn't deflect at all.
Putting a small piece of shim under one side of the legs helped direct the juice to the funnel. I know the plans said to raise one end up the tray and then slice the basket's bottom to keep it plumb, but that seemed like way too much work. Making the whole structure lean meant that the pressure could still be perpendicular to the top bar and the trivet. Definitely easier this way.
What to do with the juice
Our plan was to make 5-6 gallons of hard cider. Here in the US, we call it hard simply because it's been fermented and now has some alcohol in it. It's my understanding that the rest of the world just calls it "Cider". With the 4 couples there, we ended up pressing out 17.5 gallons of cider and having enough apple pieces left over to fill a 55-gallon plastic drum. We had the equivalent of 7 13-gallon totes full of apples (I have no idea how that correlates to a bushel.) If you're interested in making your own hard cider, check out this guys post on making hard cider.
The juice we're not turning into hard cider was put in washed-out gallon milk jugs and stored in the freezer. A little mulling spice and a crock-pot would make a lovely thanksgiving beverage. If you're freezing, be sure to leave enough head room in the jug for the expansion during freezing.