The Project:
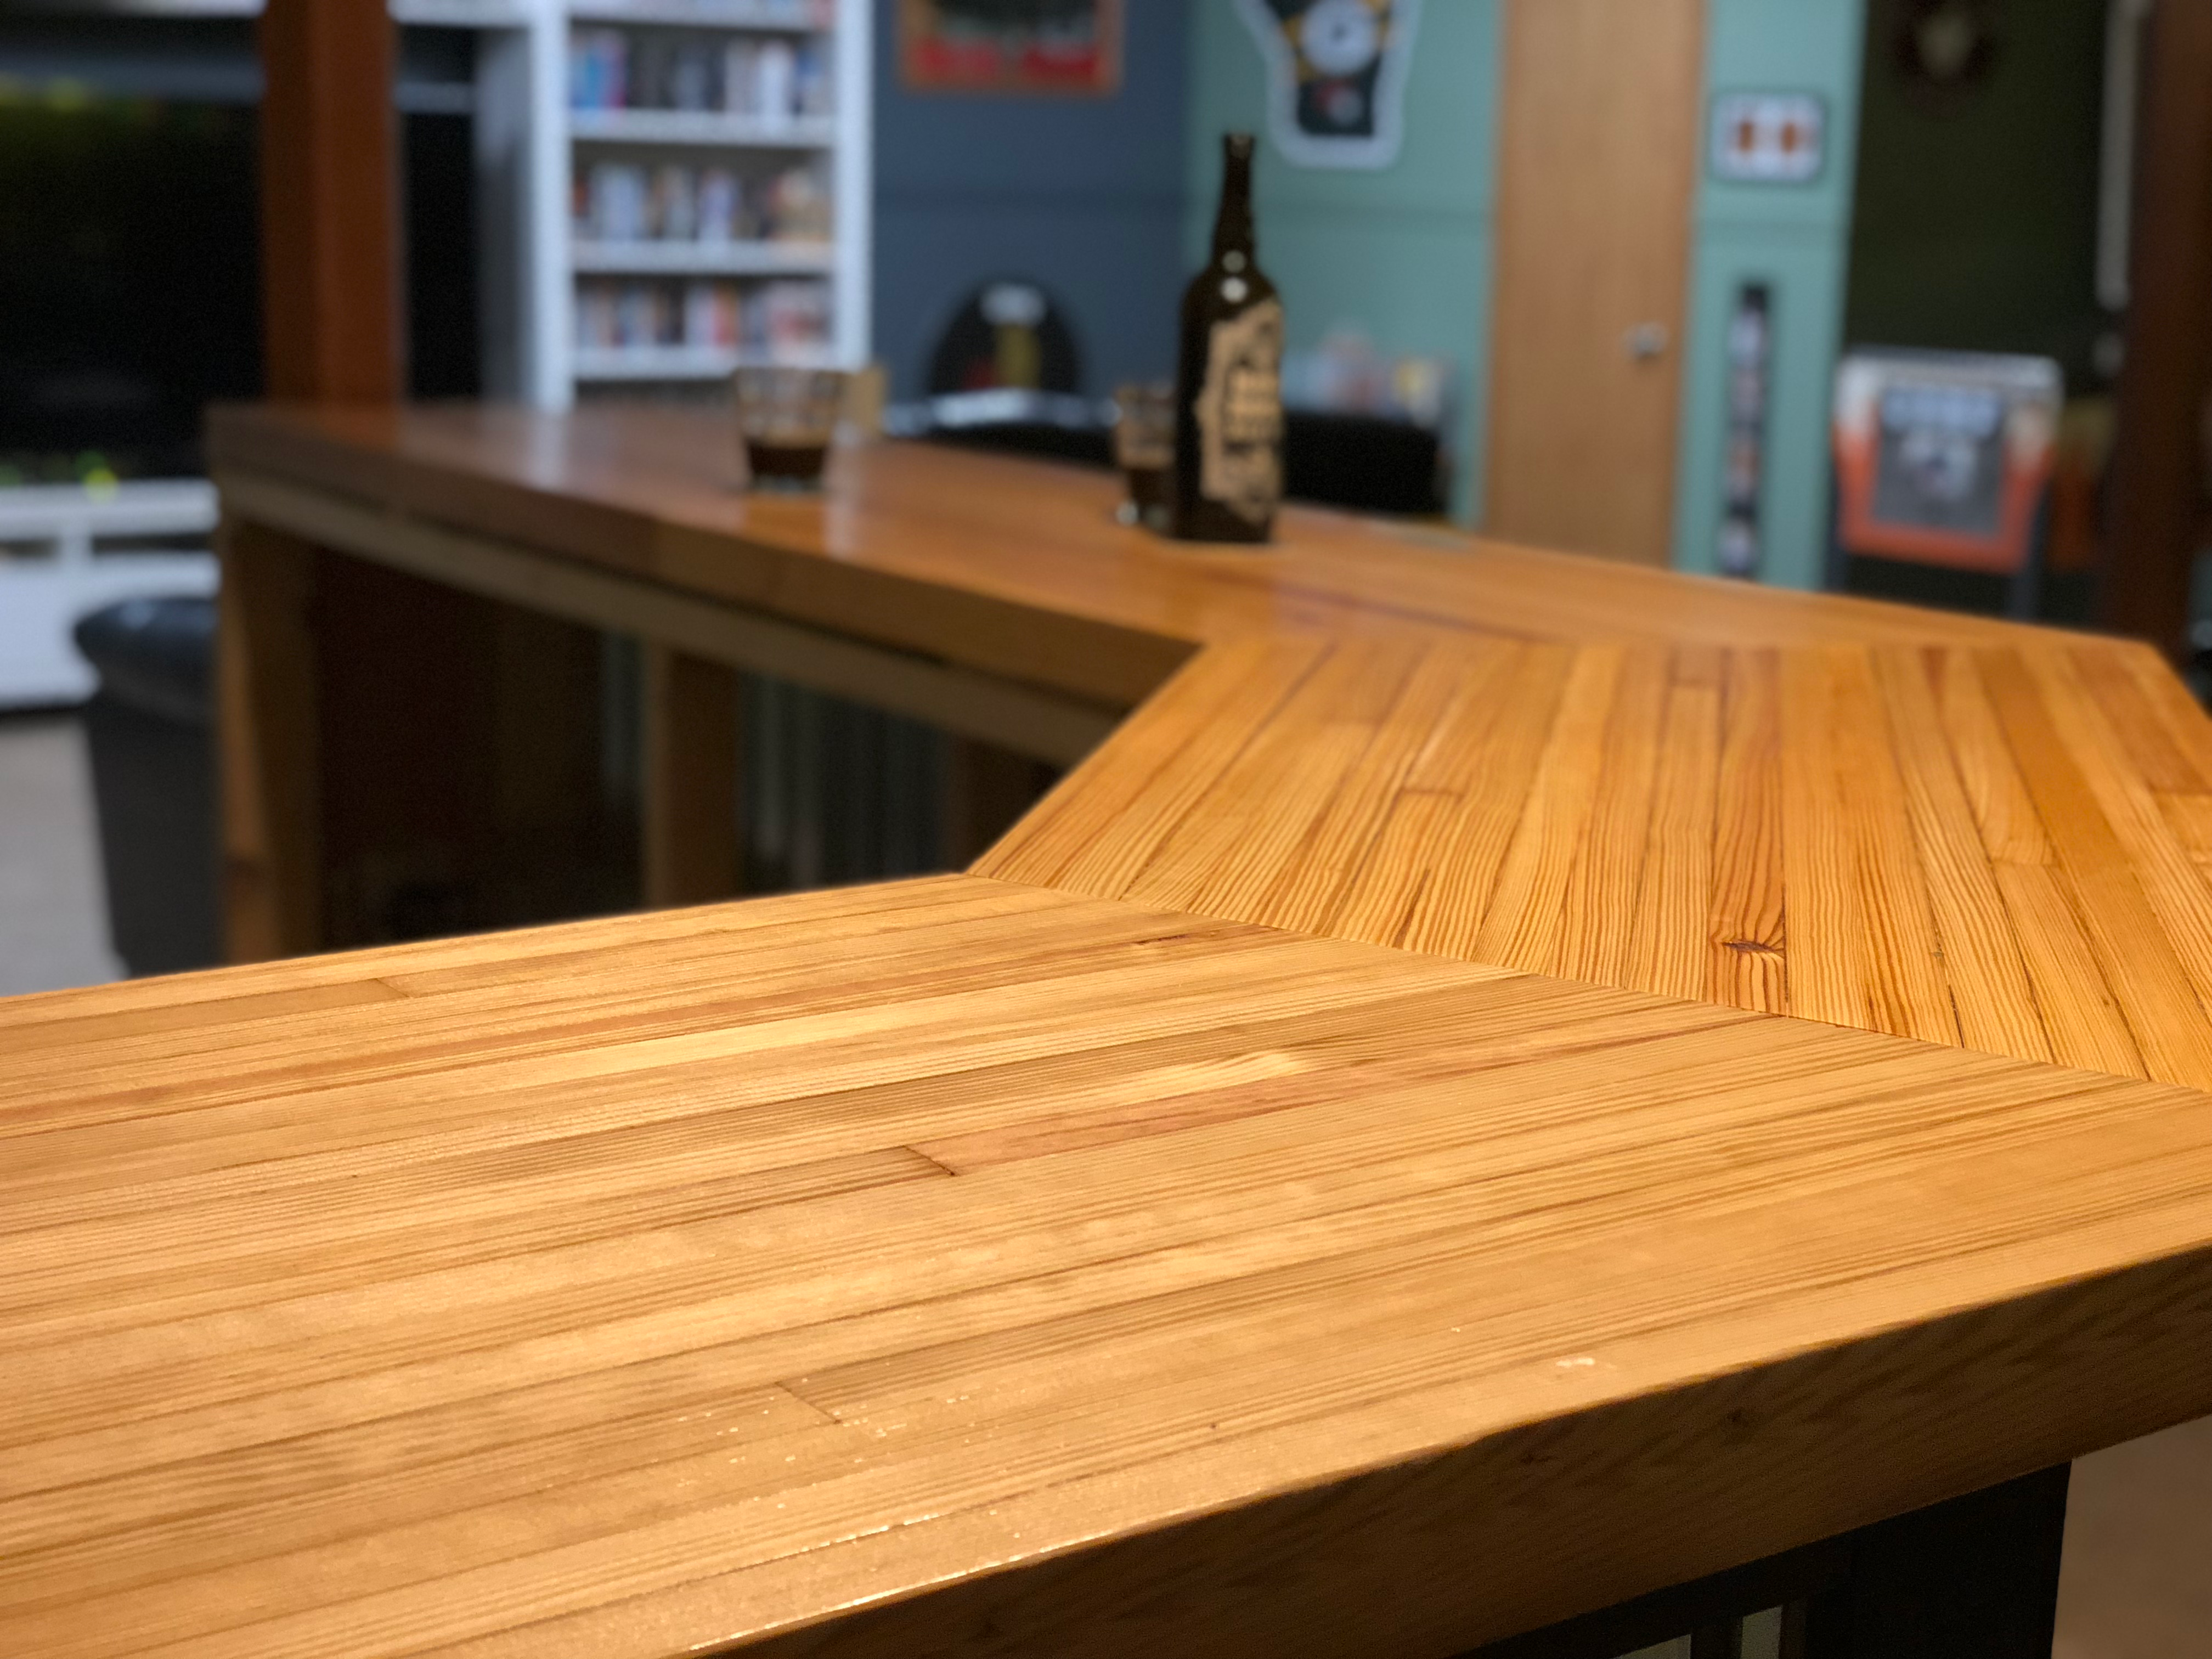
A bartop, made from a bowling lane.
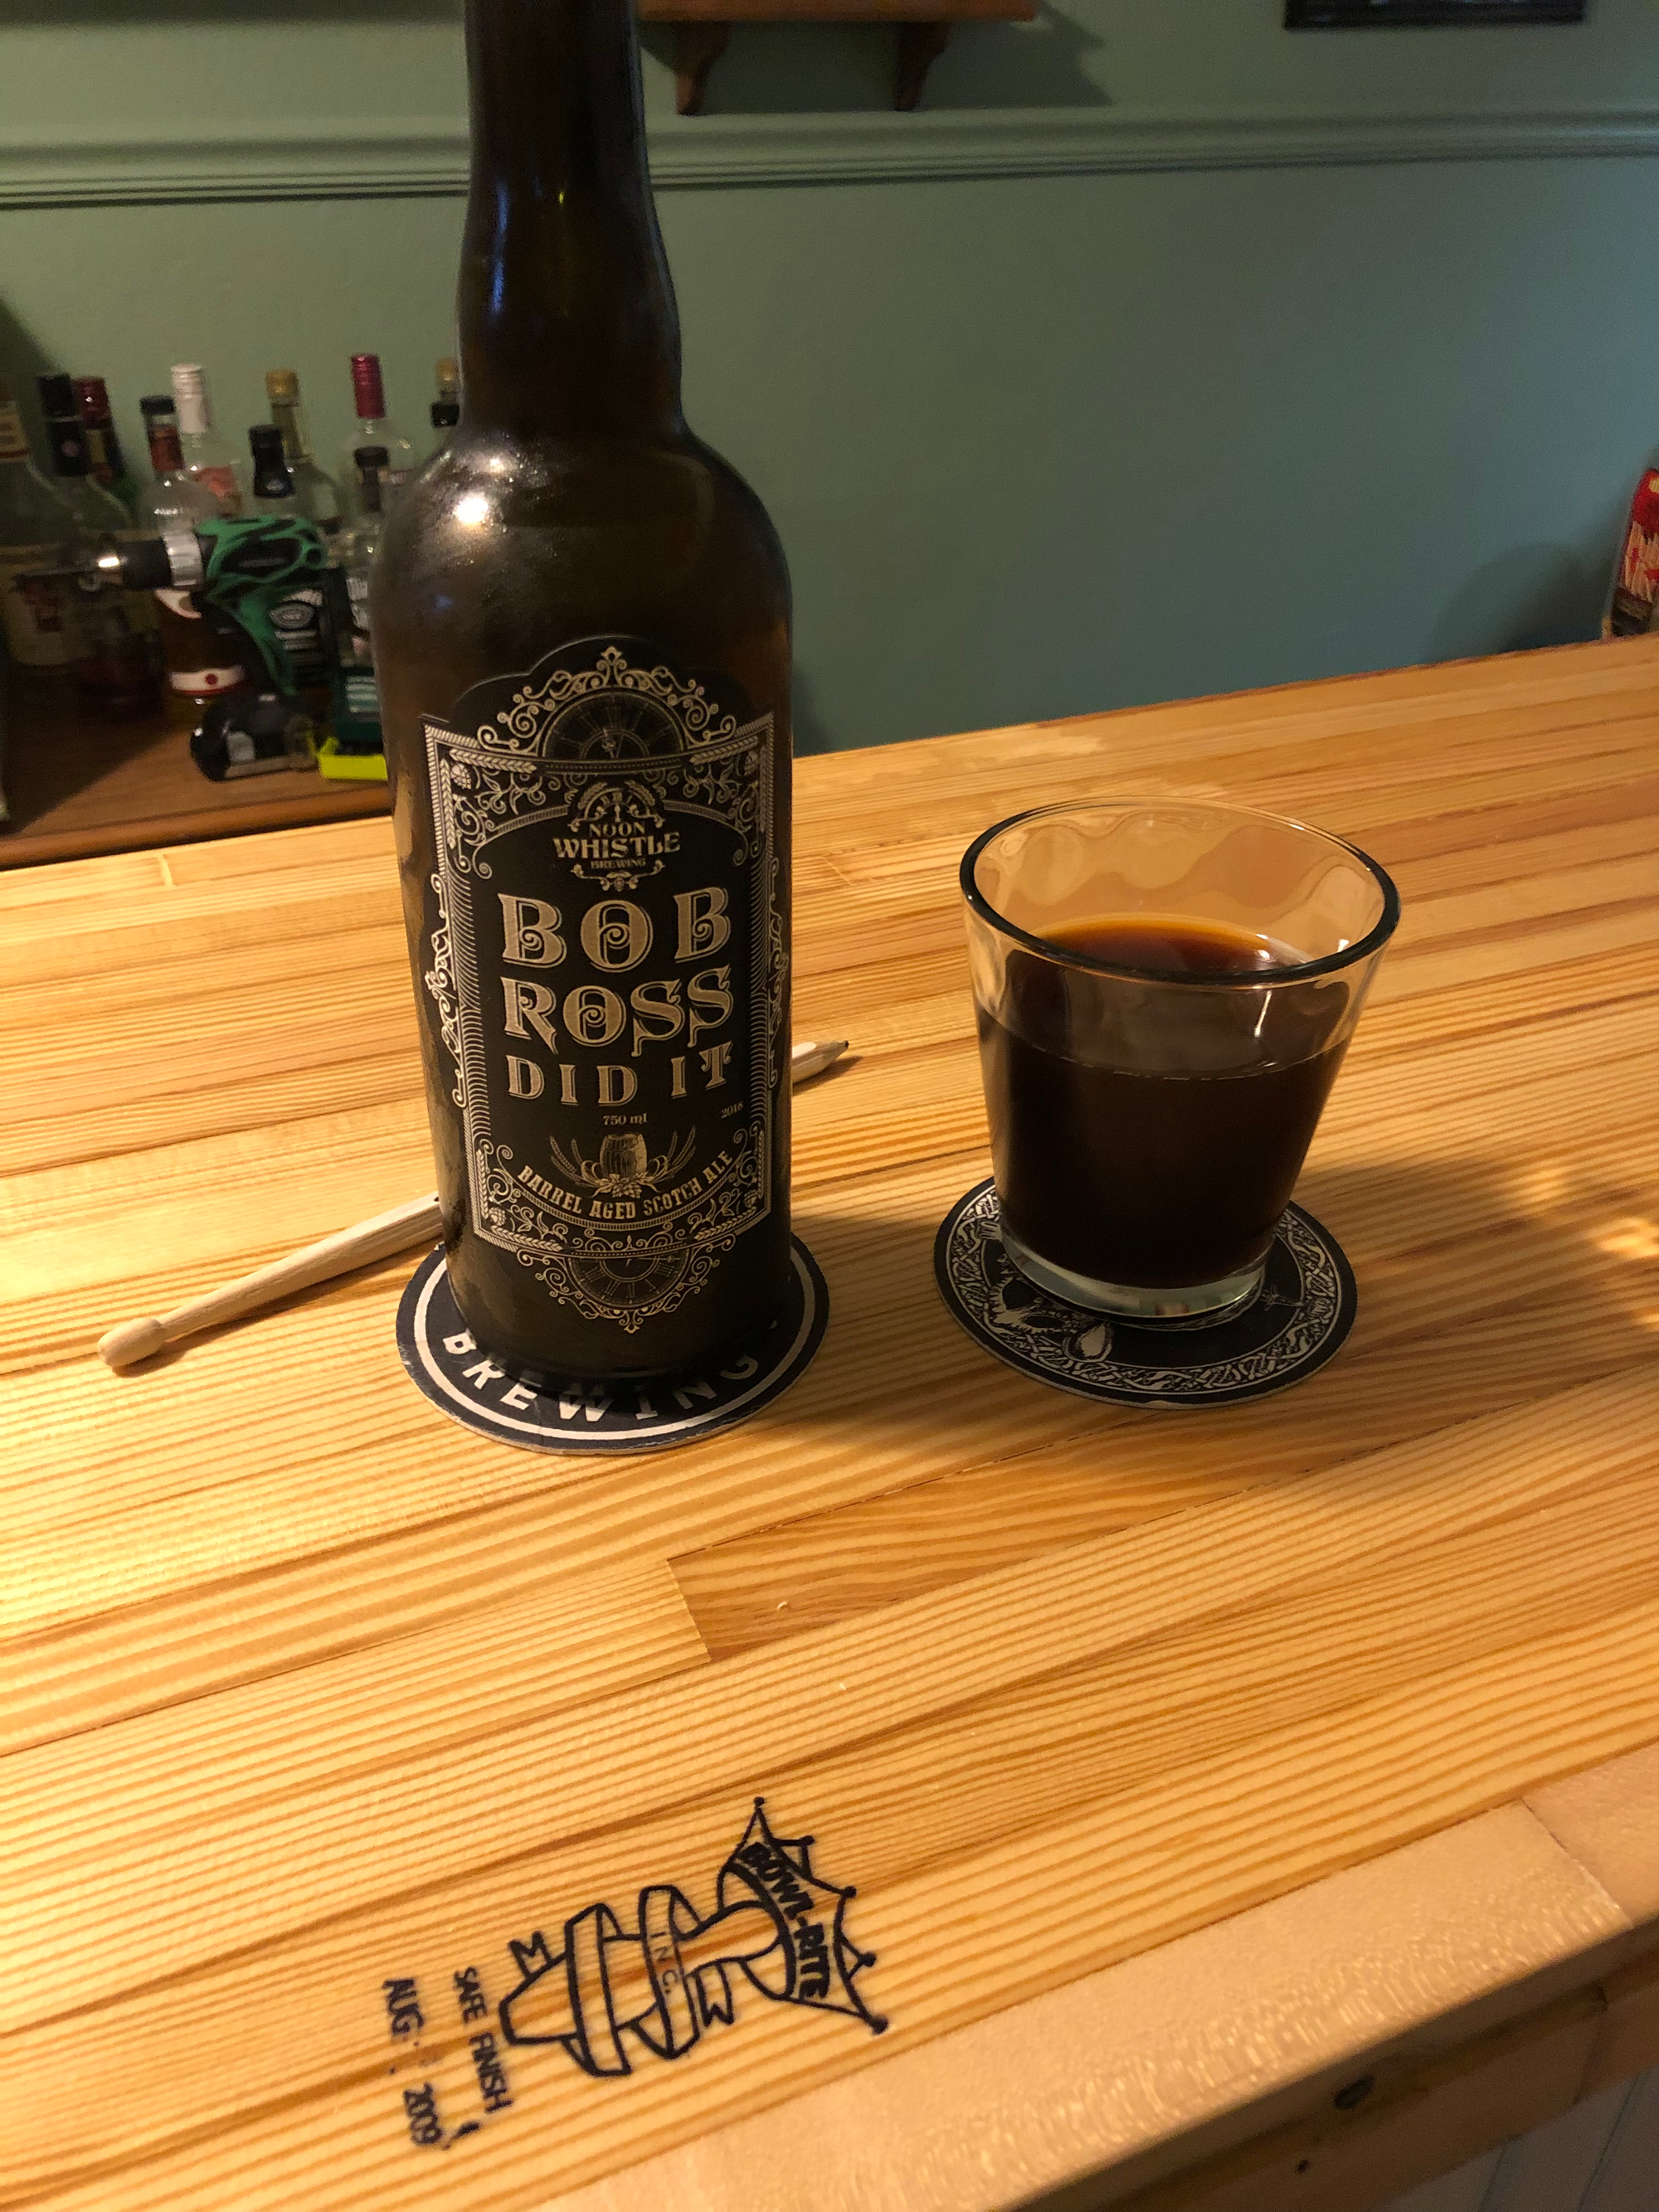
The Drink:
Bob Ross Did It (Barrel Aged Scotch Ale)
The Pairing:
No longer in production, you might be able to find one at a small, hometown bar somewhere in ... Illinois?
Project
A buddy had this bar and it was a good bar, just not a terribly happy bar. It' didn't shine. You couldn't slide a beer down it in a cold, frosty mug. If too many people leaned on it, the top may have snapped. So we set out to right this wrong!
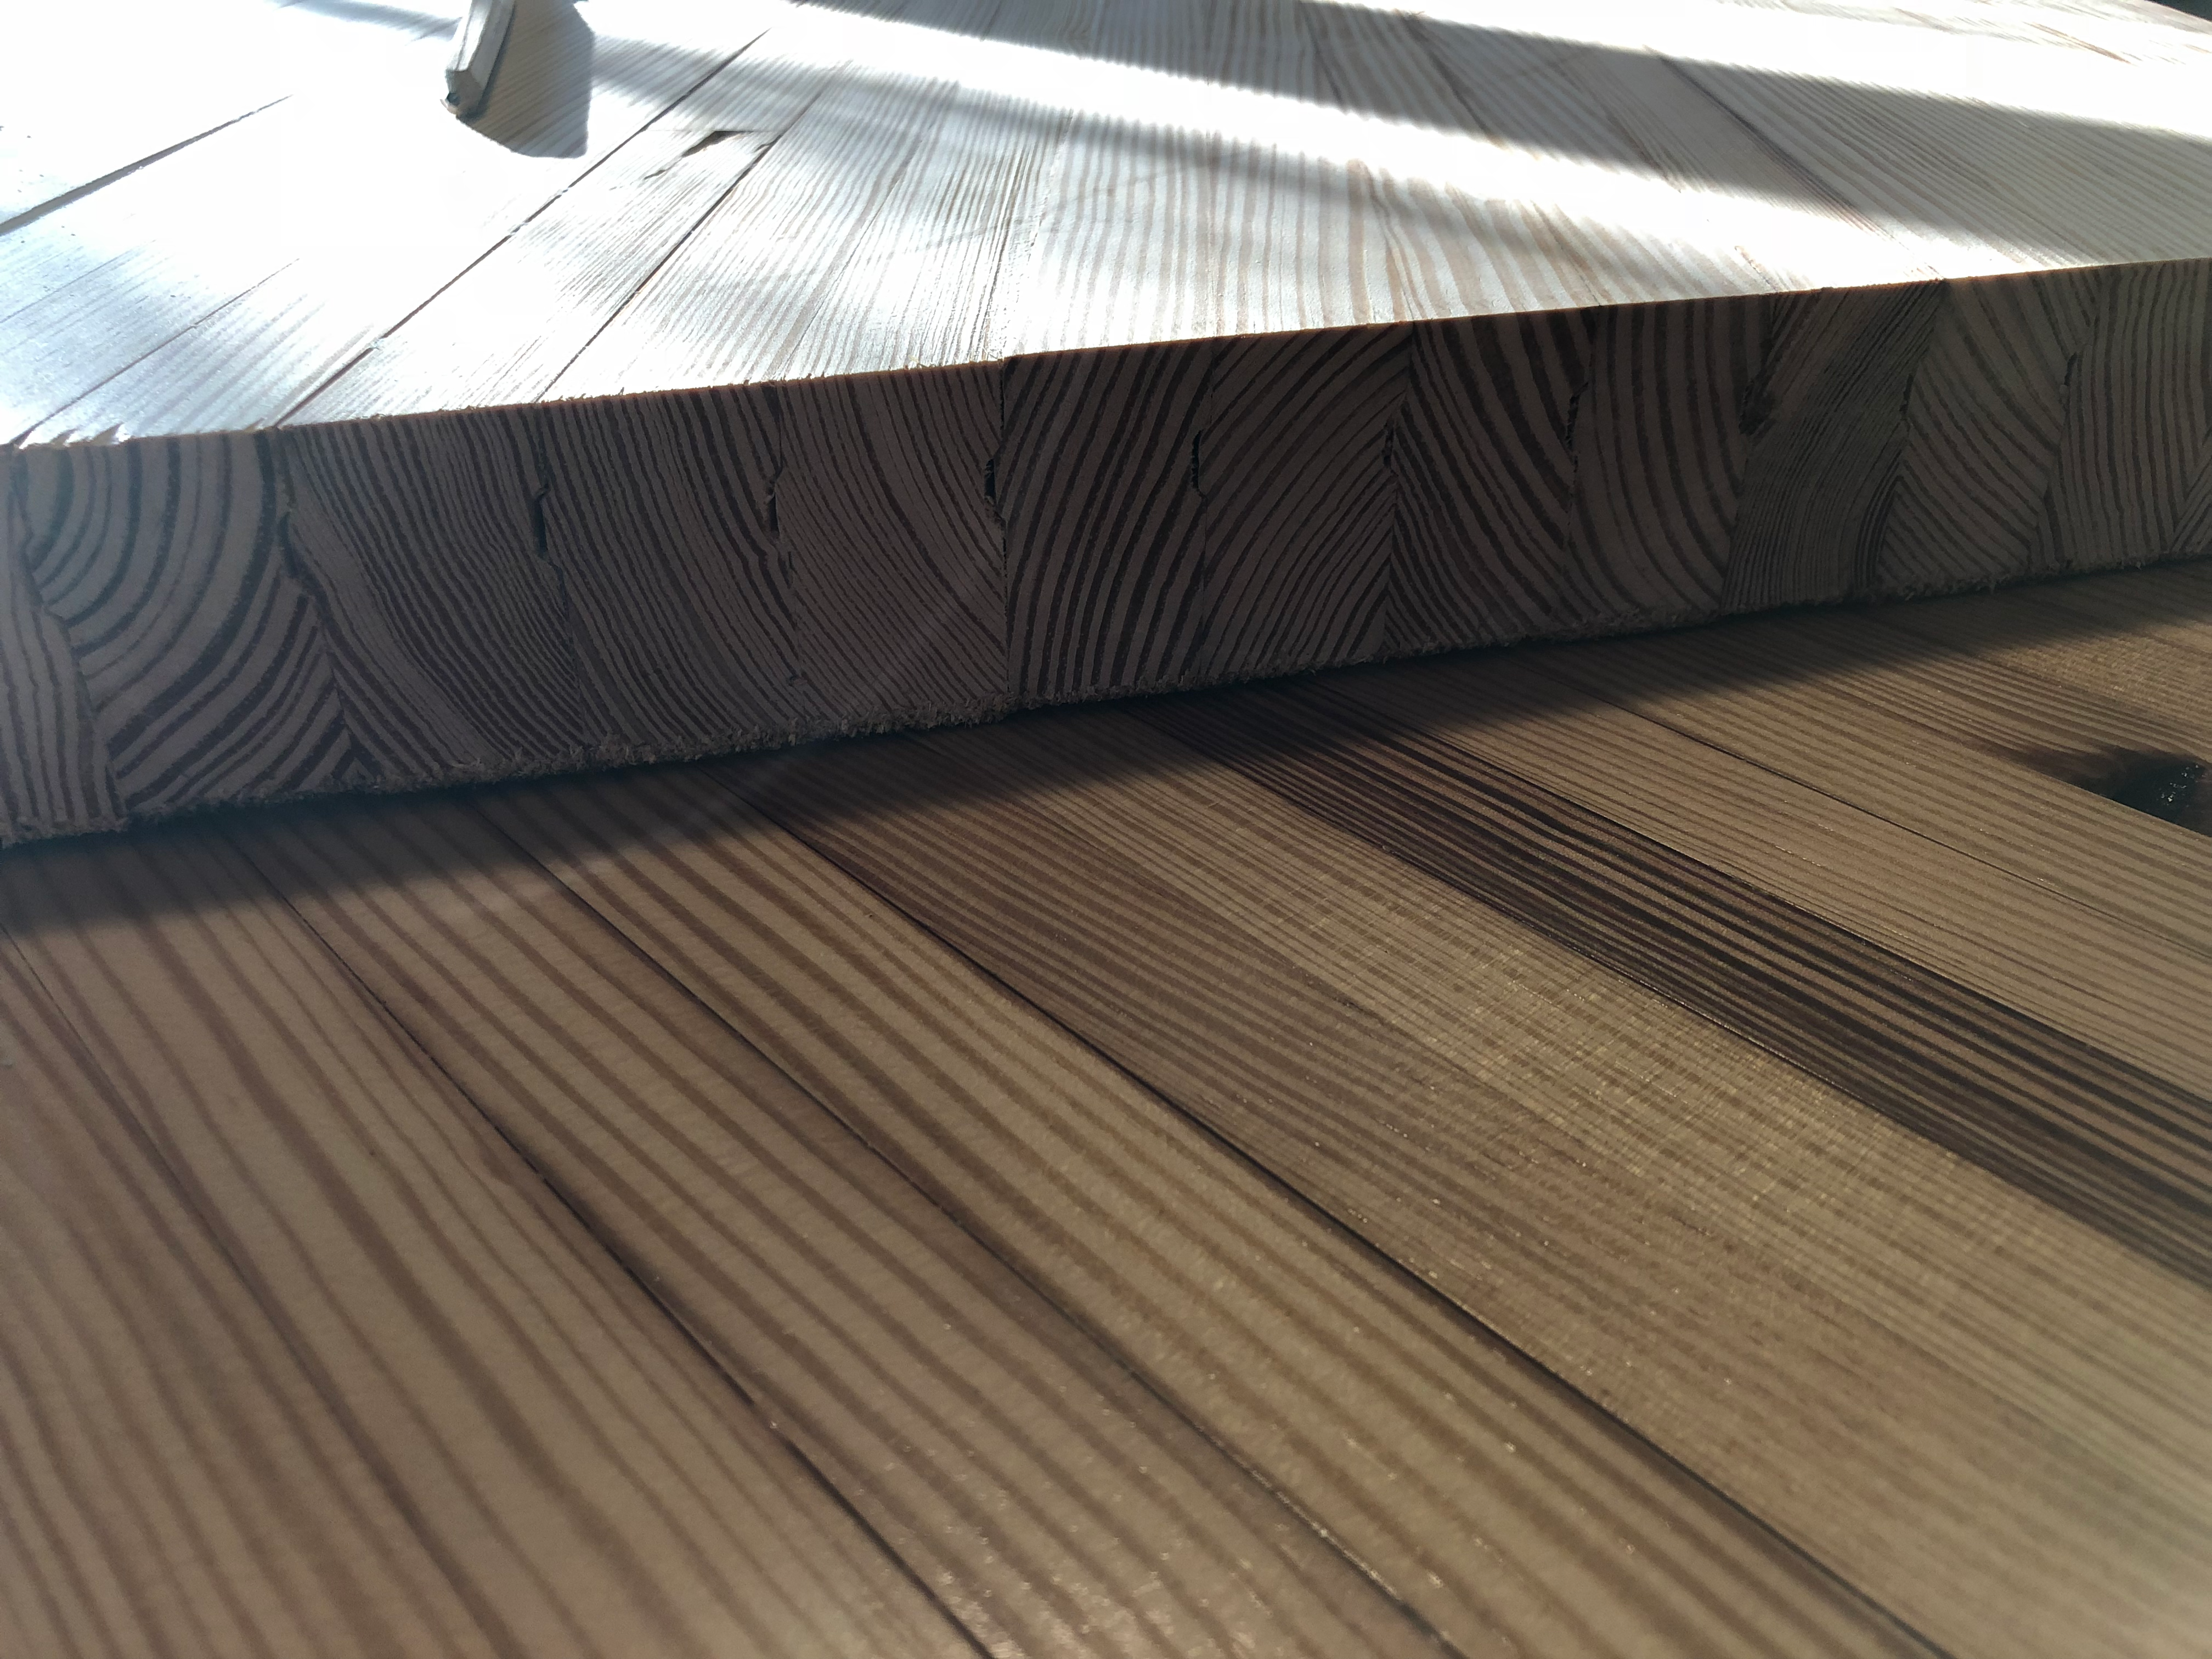
A local bowling alley had recently sold and was in the process of becoming a church. No need to for the bowling lanes anymore. Win for us! We snatched up two 8ft sections of Maple lane (we'd thought) and stowed them for a few months so the snow could melt and the days could get longer and warmer.
There's a problem with bowling lanes: After you take them off the floor and remove the iron support pieces, they get all wibbly wobbly. Try leaning on that overhang after a few Bob Ross's and you'll no doubt find yourself trying to drink your beer while on the floor. To fix this problem? Glue. Lots and lots of glue. Titebond 3 to be exactly, cause it's the most water proof of the Titebonds and this is a bar top afterall – people will spill. Turns out that good idea is not as easy as it sounds. In order to get glue in, you need to get the wood slats apart, but these look like someone went all nutso on the nail gun and had huge nails every few inches that are long enough to go through 2 and 1/4 slats. You can just pry them apart, remove the nails, and glue them back together. We found it easiest to pound a flat utility bar in between the slats and force some glue in there. Then clamp the crap out of them so they glue up nice and flat again.
Another thing that's great for bowling but not so great for a bar top is the wax and plastic sheath from the lane. Sanding's a no-go. It'll gum up your sand paper so fast you'll be out a whole bunch of sandpaper. A power hand planer would work amazingly well but I don't have one of those. Luckily, I did have a 12.5" lunchbox planer and had planned accordingly. During the glue up, we separated everything into 10-11" slabs so they could be run through the planer. Once we had a nice, flat top to work with, we tossed in some domino floating tenons and got our full width.
We had to cut next. And you can imagine that the cuts were easy, 90 deg cuts we could do with a square, straight edge, and circular saw. I broke out the Festool track saw which made short work out of all the cuts, almost. Turns out that this particular bowling lane was thicker than the max depth of the track saw. But only just barely! There was less than 1/4" still attached after the cut – nothing a quick buzz with the sawzall and then sander couldn't fix.
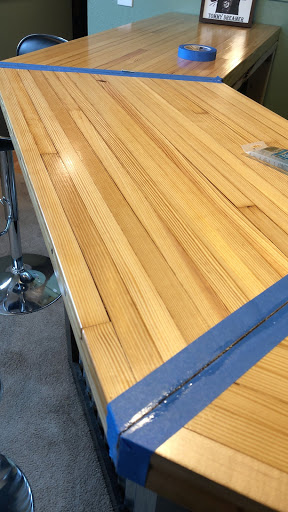
A shiny finish was requested, and we went with a sprayed on lacquer since it's super easy.
Since these chunks of lane weigh a metric crap ton, we carried them to the bar in 3 pieces. Slapped some more glue on the seams and lined up the tenons, clamped it with some blue tape and cracked open a bottle of suds. That's a wrap!